
Well I finally got to finish that project that didn't get finished on the weekend.
This is the second time I have made the Go-to-dress from The train to Crazy blog, it is a great quick versatile dress pattern, and its free
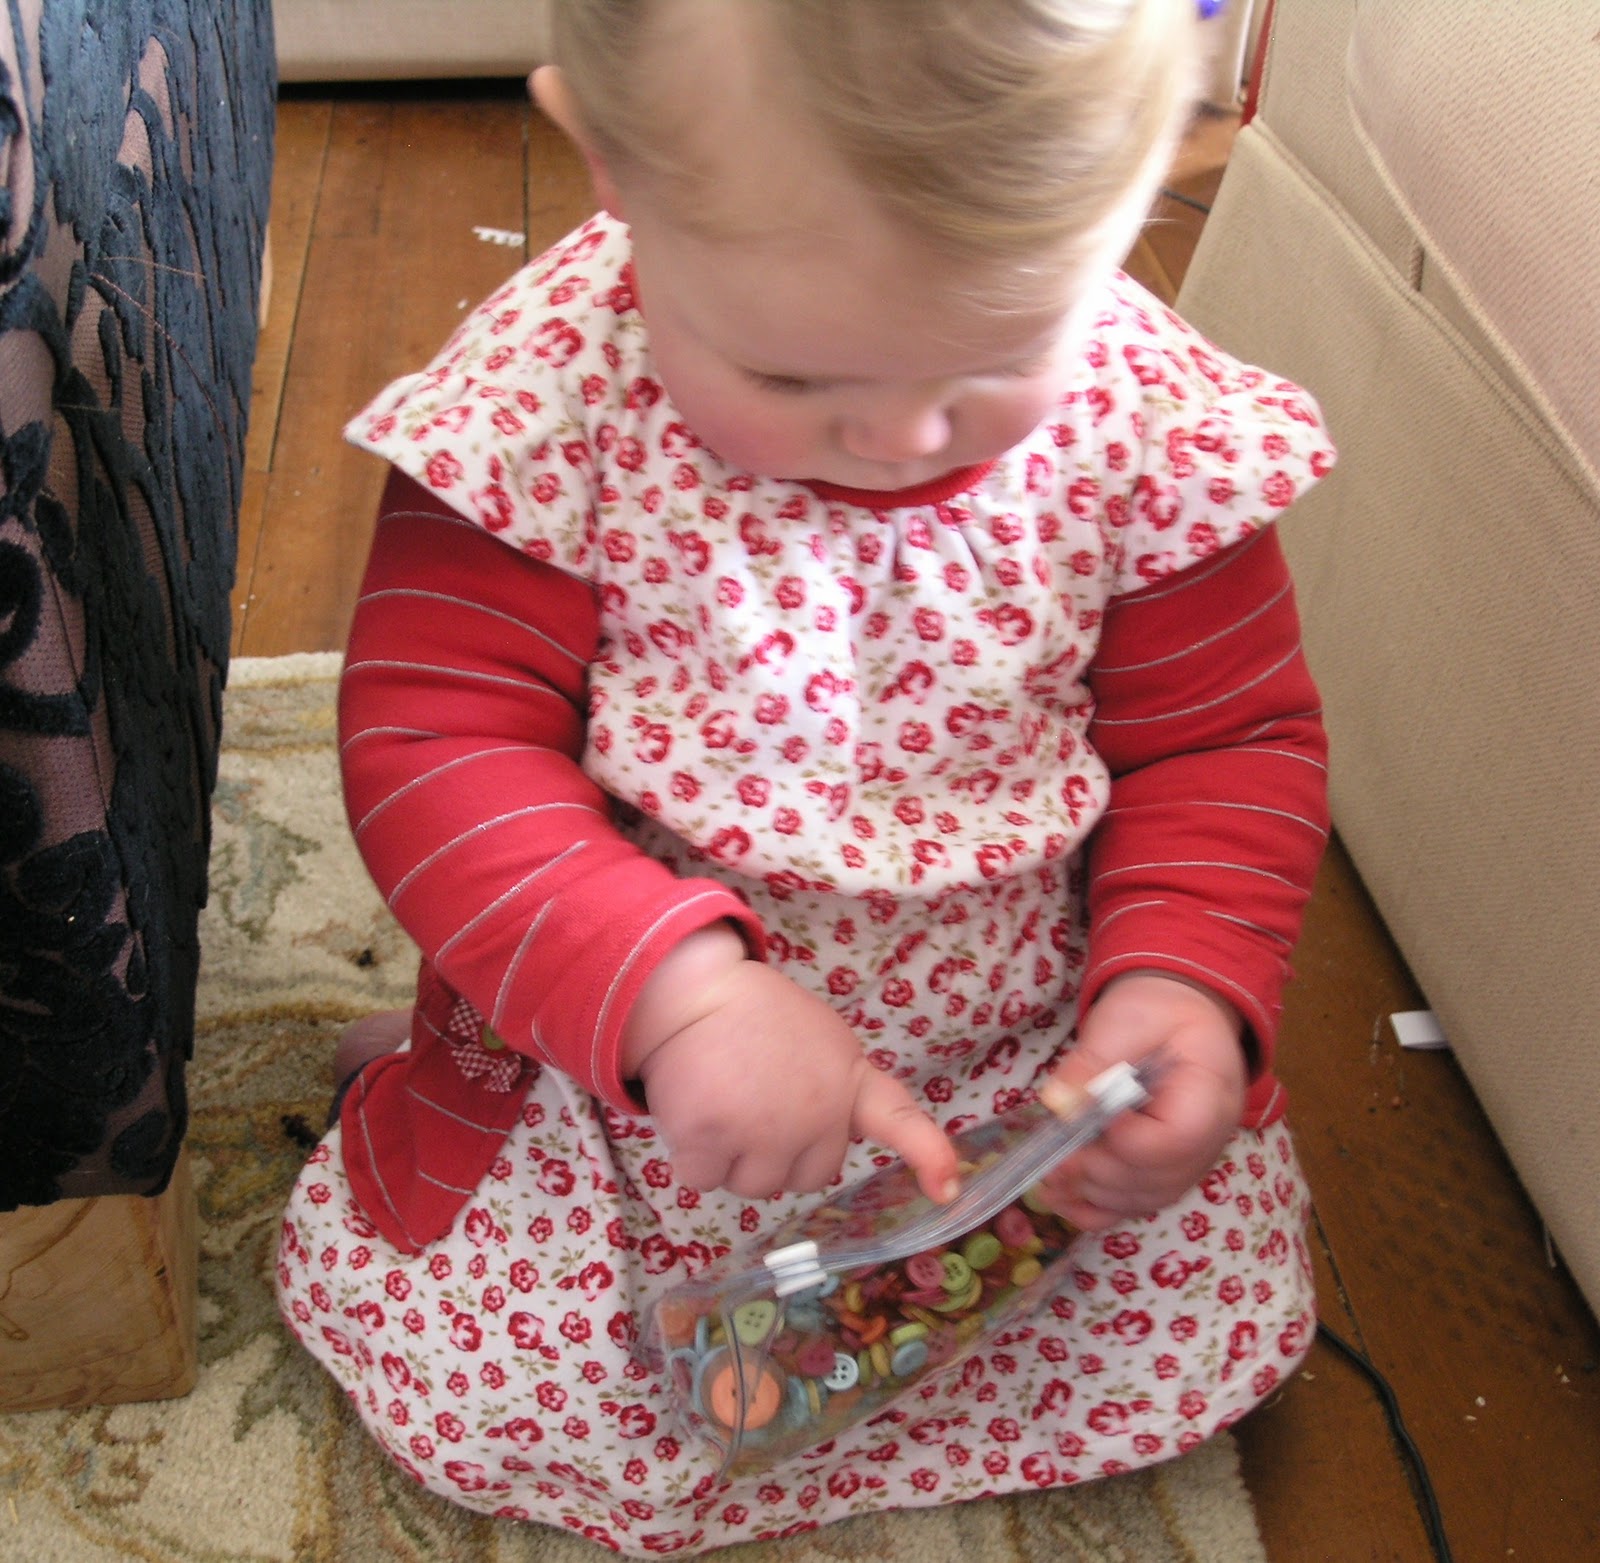

I decided this time to add pockets, and I thought I would show you how I did this.
For this dress I used a womens shirt that I got from the local op shop to coordinate with the main fabric.

I cut the t-shirt at the seams, and that was when I decided to use the sleeves ( that were slightly puffed ) for two pockets ( I had a little help with taking the pictures )


I drafted a pattern for the pocket and cut two main, two lining. I left the ribbing on the edges so that I didn't have to finish the edge.

I pinned right sides together, because I wanted to keep the rib edge. I pinned down the lining as shown and then sewed right around the edge, leaving top edge open.
Then I clipped the curve, turned right side out.
I pressed and then sewed the top edge as a stitch in the ditch where the main sides ribbing is sew to the fabric ( if that makes sense?)

Then I placed the pocket on to the side seams, once sewn I embellished, and voila finished!


Thankyou to Andrea from the train to crazy blog. I am now going to post some pics in her flickr group. Till next time see ya!
2 comments:
Oh so cute! I love the fabric combination. :)
Thankyou, I have enjoyed making it :) thankyou for leaving my first comment!
Post a Comment